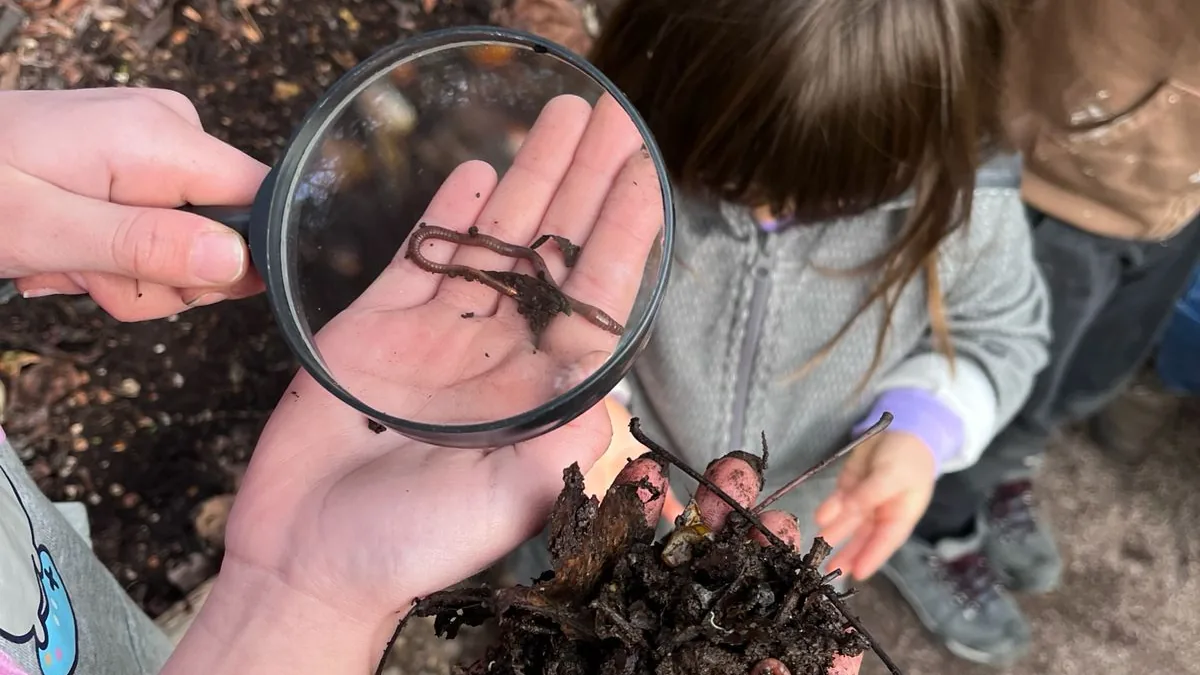
A first scientific instrument
A magnifying glass turns a familiar object into a field of lines, hairs, dots, edges and textures. It does more than make things look larger: children choose where to look and compare unaided vision with the view through a lens.
Allow a short exploration before explaining names. The first goal is learning that a steady lens and patient distance adjustment produce a clearer image.
Learn to look first; discuss what each detail might mean afterwards.
Choose the right magnifier
Use a large, lightweight hand lens with a comfortable handle, durable acrylic lens and rounded edges. A wide lens is easier to focus than a small one.
Provide several magnifiers or use pairs with short turns. One tool for a large group creates waiting rather than exploration.
Before handing it over, an adult should check that the lens is secure and free from cracks or sharp edges. The handle should fit comfortably in one hand, and the lens can be cleaned with a soft cloth so dust and marks do not interfere with observation.
A light-coloured tray keeps the object still and improves contrast. This simple preparation lets children focus on finding a clear image and noticing details instead of chasing a sample across the table.
Teach focusing step by step
Model with a familiar object such as a leaf. Change only one thing at a time so children can discover the useful distance.
The child holds the handle with one hand without touching the lens while the object stays still on a table, tray or adult palm. The magnifier is placed above the sample and moved slowly up or down until edges and details appear sharp.
Once the image is focused, the child can explore different areas with small movements. Avoiding simultaneous movement of the head, lens and sample makes it easier to understand which adjustment produced the clear image.
Practise with simple objects
Begin with flat, still, high-contrast objects: a veined leaf, stone, bark, feather, fabric or fingerprint. These are easier than a moving insect.
Once the group controls distance, introduce three-dimensional samples and outdoor observation. Comparing two surfaces carefully is often more useful than rushing through a large collection.
Questions that support observation
Asking only ‘what is it?’ turns the activity into guessing. Observation questions direct attention to evidence even when children do not know the object’s name.
Eberbach and Crowley explain that scientific observation is not an automatic skill: it develops as learners notice relevant details, connect observations with prior ideas and record what they find. A magnifier therefore becomes more useful when it supports conversation, comparison and drawing rather than simply enlarging an image.
Begin by asking which colours appear close up and whether children can see lines, dots, hairs, layers or edges. They can then compare smooth and rough areas, identify a detail that was invisible without the lens and look for similarities and differences between two samples.
To close, invite children to draw one observed detail at a much larger scale. Drawing encourages them to look again, select features and leave a record that can be compared with the sample or with another person’s observations.
Observe small animals respectfully
If earthworms, snails or insects are involved, reduce handling. Observe them where they were found or in a wide, ventilated container prepared by an adult.
Keep observation brief, avoid heat and direct sun, never squeeze or pass animals from hand to hand, and return them to the same place. Wash hands after contact with soil or living things.
A short activity: detail detectives
Place three or four safe samples in numbered trays. Pairs draw one detail without a magnifier, repeat with the lens and finish the sentence: ‘With the magnifier we discovered…’.
Adults can observe whether children use the handle, adjust distance slowly, protect the sample and communicate one detail—without turning the activity into a test.
Safety and care
Never look at the Sun or a bright light through a magnifying glass. Do not leave the lens in sunlight because it can focus light and cause burns or start a fire. Explain this rule before handing out the tool and supervise throughout.
Clean with a soft cloth, check for damage and store each magnifier separately. Caring for a tool is part of scientific practice.
During use, the lens should not be placed against the eyes, mouth or face. Children carry the magnifier by its handle and return it immediately after use so it is not left in sunlight or exposed to falls and damage.